In the Treatment Planner, you can view the consent forms that have been set up for and added to a specific case. You can also remove consent forms from or add them to a case.
To add a consent form to a case
1. Click the Treatment Plan Case Setup tab, and then select the case that you want to add a consent form to.
2. In the Treatment Plan Case Setup toolbar, click Consent Forms.
Note: The Consent Forms button changes based on the status of the consent forms in the case. The button will have one of the following four statuses:
 All consent forms have been signed.
 Consent forms missing signature.
 Case has unsigned consent forms.
 No consent forms.
3. The Dentrix Consent Forms dialog box appears.
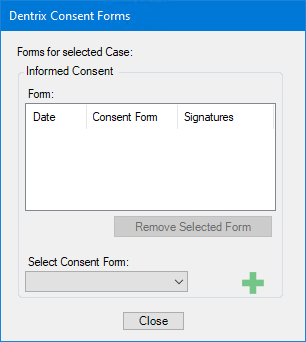
4. Click the Add icon.
The Consent Form dialog box appears.
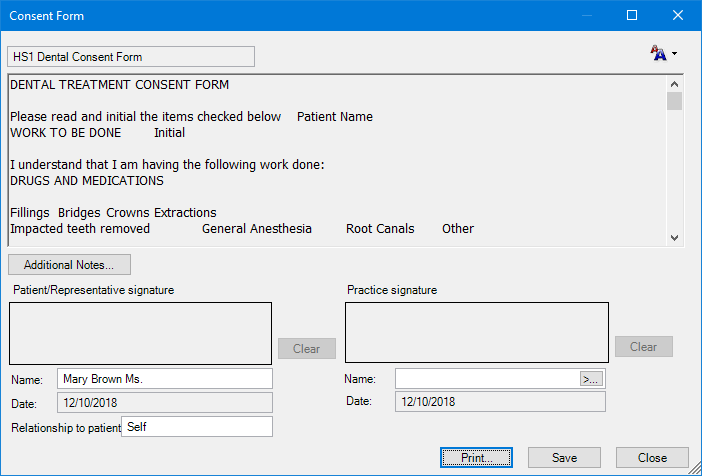
5. If necessary, do the following:
Click the Font Size button (upper-right corner) and then from the menu, select a font size.
Note: By default, the consent form text appears in the Small font size. You also have options for Medium, Large, and X-Large.
Edit the patient information (Patient/Representative signature, Name, Date, and Relationship to patient) or the practice information (Practice signature, Name, and Date) as necessary.
Click Additional Notes to add notes to the form, if the consent form does not have any signatures attached.
Note: If the consent form has one or more signatures, and the form has been saved, you cannot add notes to it, nor can you change any patient or provider information.
Click Save to save any changes.
Click Print to print the consent form.
Note: You can print any consent form, even an unsigned one.
6. Click Close twice.
The Consent Form and Dentrix Consent Forms dialog boxes close, respectively.